1.参考资源
2.安装软件
2.1 Windows
2.2 Linux
git
1 | sudo apt-get install git |
Nodejs
1 | sudo apt-get install nodejs |
安装完成,查看版本号,可检查是否安装成功
node -vnpm -v
3.安装Hexo
以下命令都在
git bash中输入运行
- cd至需要创建的文件夹blog下,安装Hexo(Windows在
git bash窗口中输入)
1 | npm install -g hexo-cli |
4.快速创建
4.1 初始化博客
1 | hexo init blog |
- 切换至博客目录
1 | cd blog |
4.2 创建文章
1 | hexo new "Hello Hexo" |
More info: Writing
4.3 生成静态文章
1 | hexo generate |
- 可简写为
hexo g
More info: Generating
4.4 启动服务
在预览时才需要用】启动hexo,会生成本地连接:localhost:4000
如果4000端口被占用可以用:hexo server -p 5000(指定端口5000)
1 | hexo server |
- 可简写为
hexo s
More info: Server
4.5 部署文章
1 | hexo deploy |
- 可简写为
hexo d
More info: Deployment
5.更换主题
5.1 下载
点击不同的主题的代码,将其文件夹复制到你 Hexo 的 themes 文件夹中即可
推荐的主题:
5.2 更换主题
初始化默认主题为landscape
切换主题修改 Hexo 根目录下的 _config.yml 的 theme 的值:theme: hexo-theme-matery
_config.yml 文件的其它修改建议:
- 请修改 _config.yml 的 url 的值为你的网站主 URL(如:http://xxx.github.io)
- 建议修改两个 per_page 的分页条数值为 6 的倍数,如:12、18 等,这样文章列表在各个屏幕下都能较好的显示
- 如果你是中文用户,则建议修改 language 的值为 zh-CN
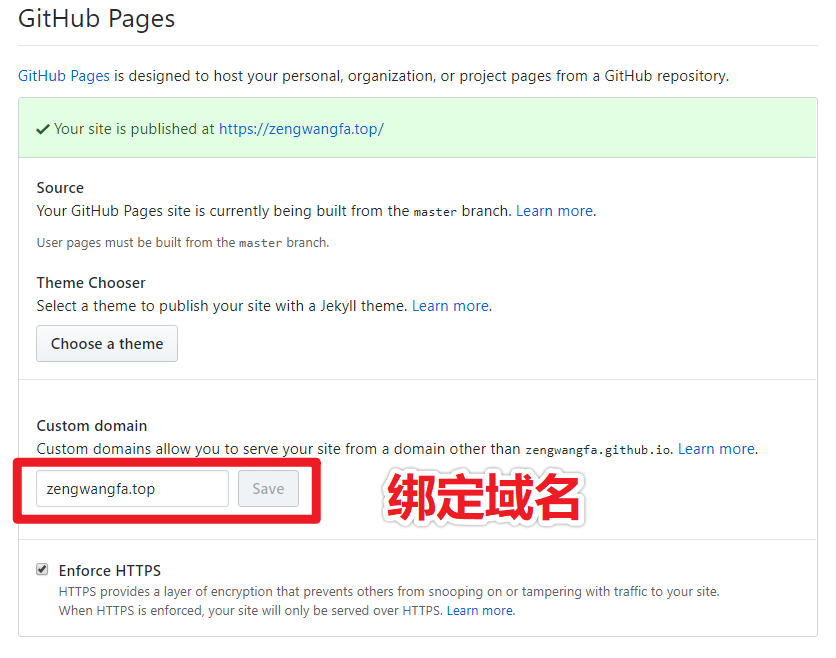
6.绑定域名CNAME
- 当你点击保存的时候 Github Pages 会自动帮你生成一个 CNAME 的文件在根目录,里面的内容就是你绑定的域名地址


